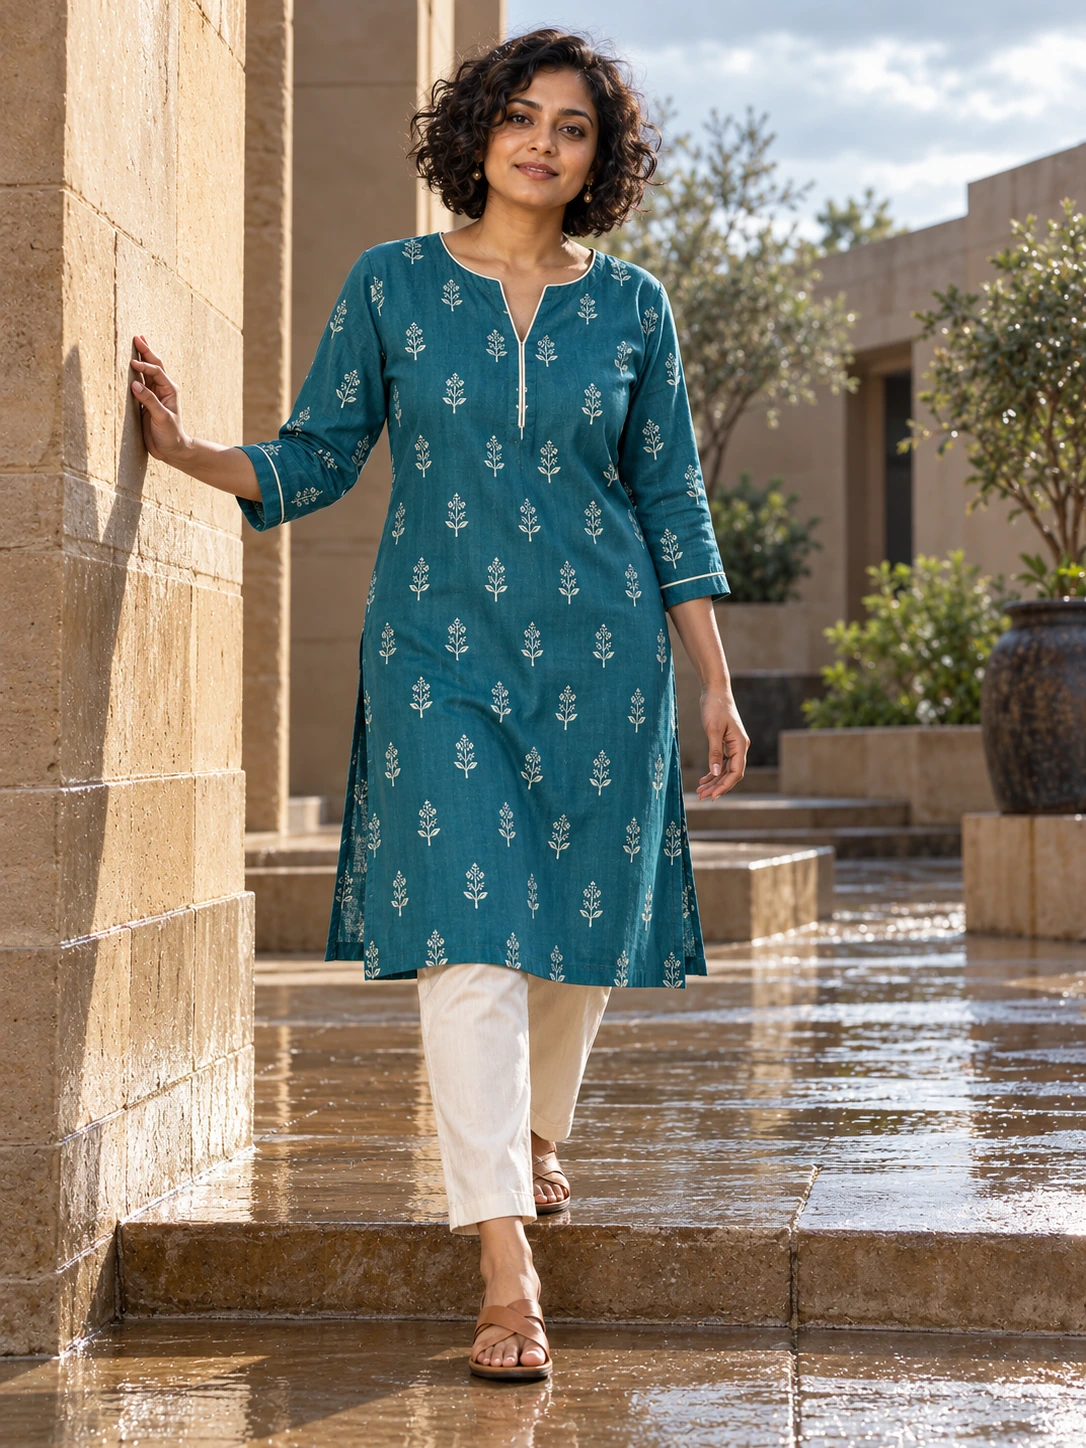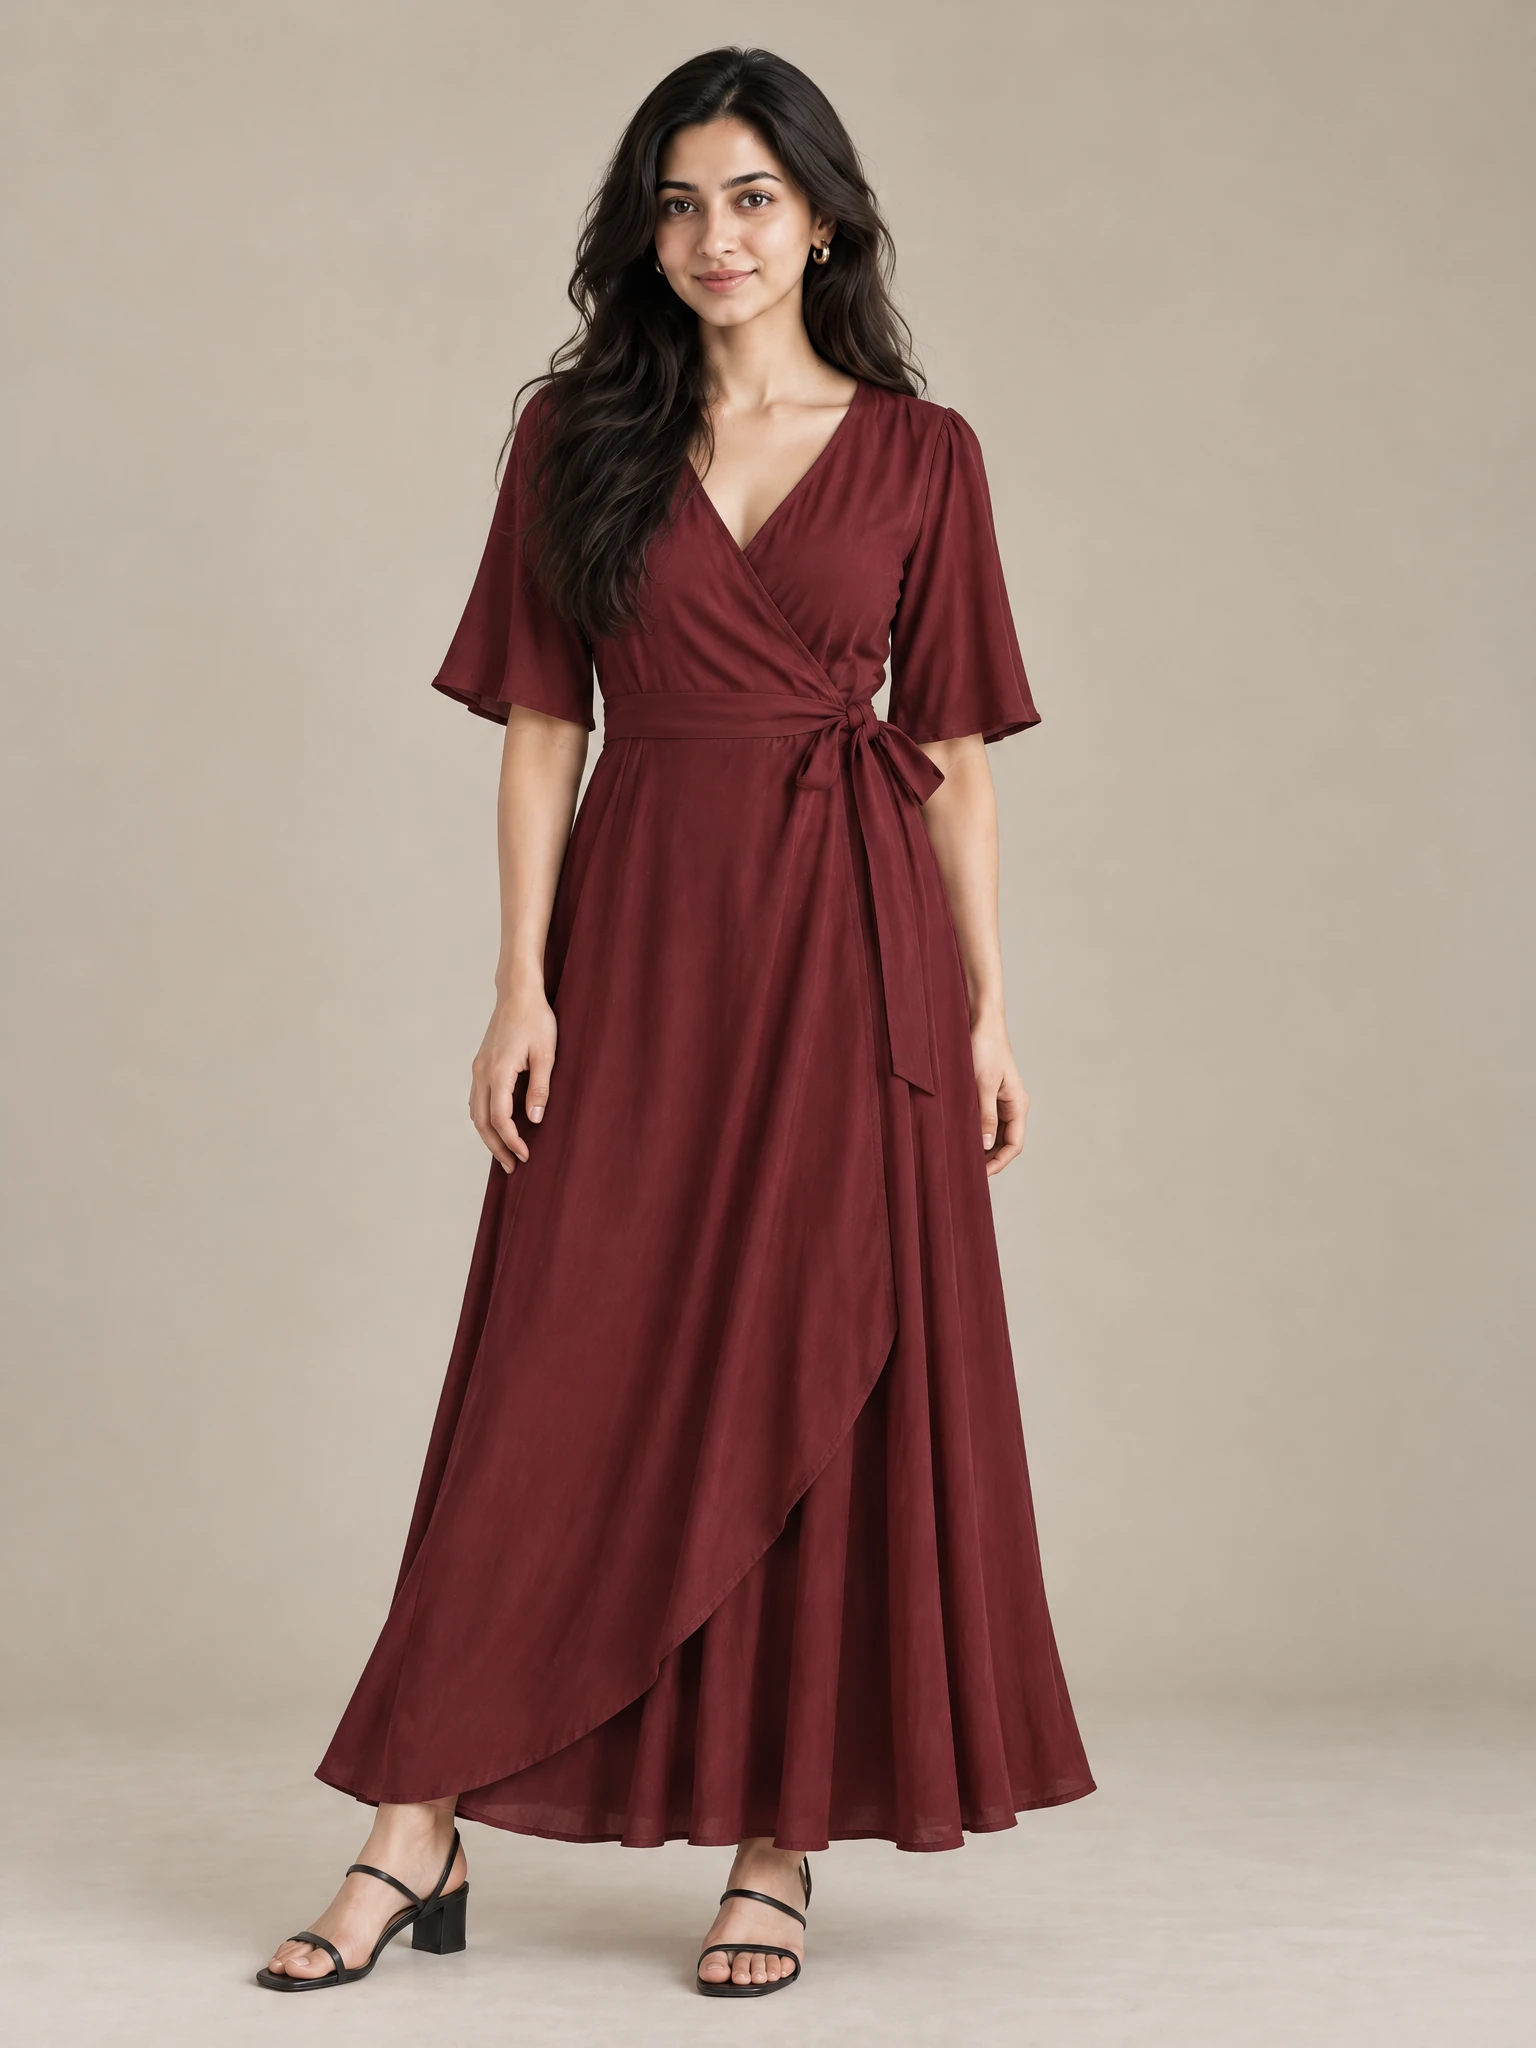
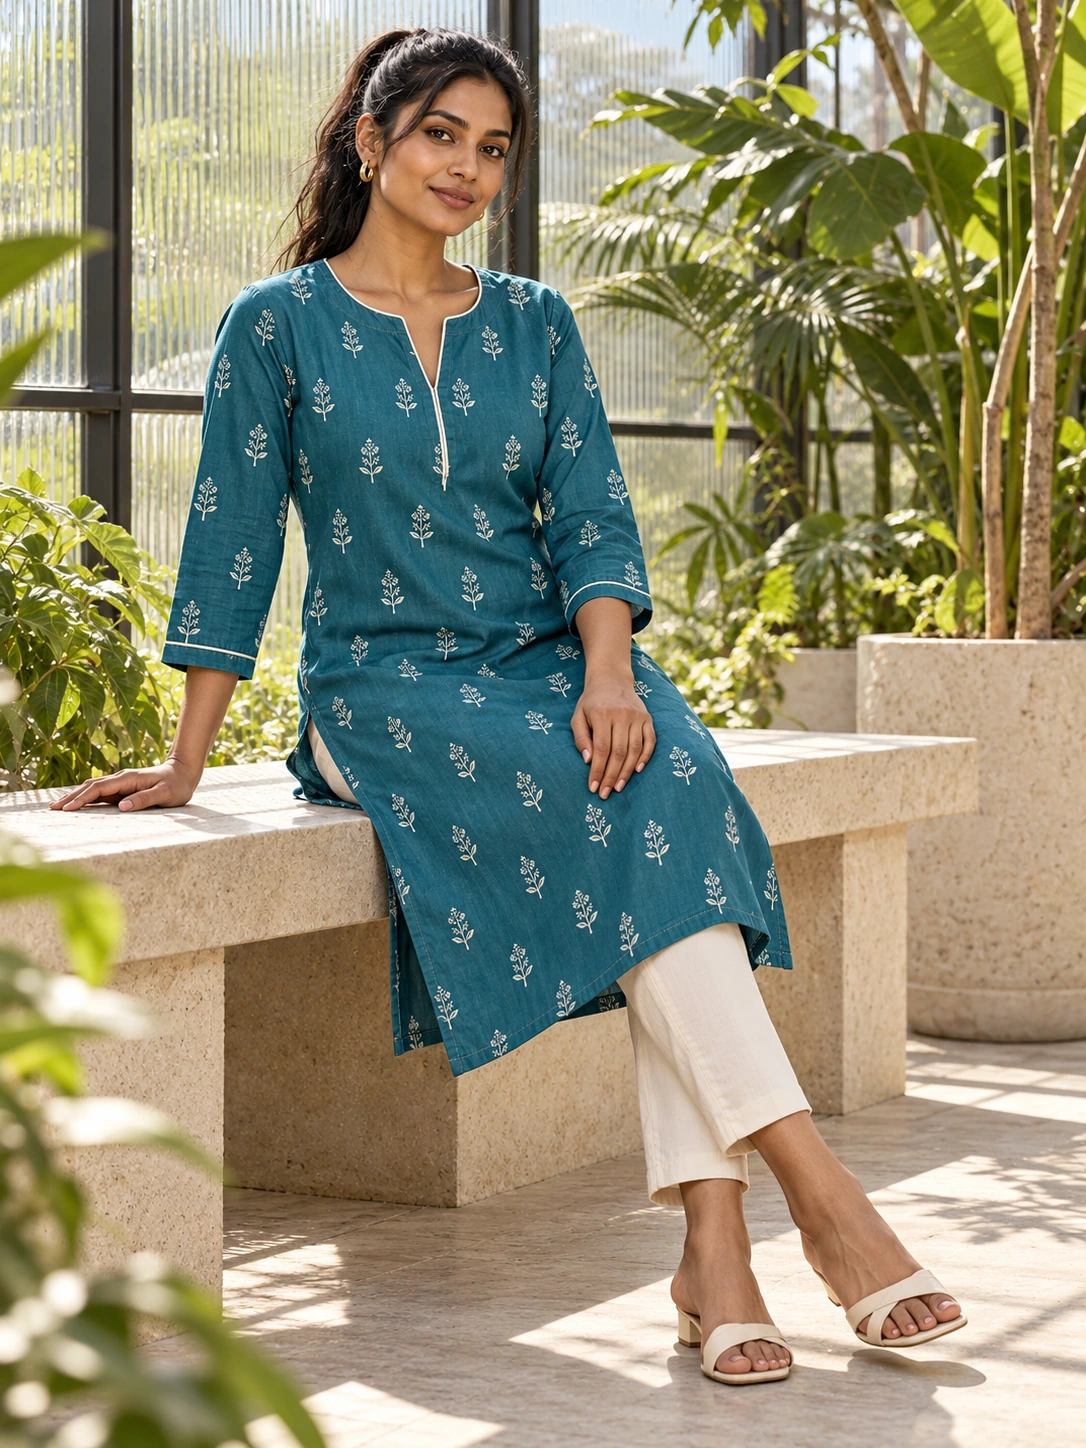
The best campaign image starts before you choose a model or a mood. It starts with a garment photo that gives the studio enough truth to work from. You do not need a complicated production setup. You do need a clear view of the piece you want to show.
Think of the source photo as a handoff between your product and your creative direction. If the hem is hidden, the print is blurred, or a sleeve is cropped out, the final image has less to follow. A few minutes of preparation can make the review stage much more useful.
Give the garment room to speak
Use a photo where the full garment is visible from edge to edge. Keep the camera close to level with the piece and leave a little breathing room around it. A plain, calm background helps you see the outline, while even light helps preserve colour and texture.
- Show the complete silhouette, including sleeves, straps, hems and trims.
- Keep the camera lens clean and avoid heavy filters or colour presets.
- Use enough resolution to see the weave, embroidery, print and fastenings.
- Make sure the garment is not folded over, covered by a hand, or hidden by a hanger hook.
Capture the details customers will notice
One front view is a useful start, but it may not explain the whole piece. Add close views when the garment has a border, unusual neckline, delicate trim, placement print, or a detail that carries its identity. These supporting photos are especially helpful when the main image cannot show a construction detail clearly.
Keep those detail photos honest. A close crop should explain the product, not make it look more saturated or more textured than it is. If the colour changes between photos, choose the version that best matches the physical garment and note the difference before you begin.
Choose references with a job in mind
First add your photos to Catalog. Prepare and review the front garment view, then the back; approve both before garment-based generation. Optional side/detail references add coverage. With those references ready, choose a model and a style reference that answer different questions. The model reference sets the person and presence you want to explore. The style reference sets the visual direction: the light, composition, setting or energy of the image.
Pick references that leave the garment visible. A dramatic pose, busy background or tightly cropped example may look beautiful but make it harder to judge the product. Start with one clear direction, then make a second version when you know what needs to change.
Final pre-shoot checklist
- Is the whole garment visible in at least one clean source image?
- Can you identify the true colour, print, fit and construction from the photos?
- Have you removed filters, distracting props and accidental obstructions?
- Does your model reference leave enough space to show the garment?
- Does your style reference express the mood without hiding product details?
- Do you have permission to use every photo and reference you selected?
With that foundation in place, the generated image becomes something you can review against the actual piece. Your source remains the authority. The creative direction can change from shoot to shoot, while the garment truth stays visible throughout.